It took me a few weekends to finish, but I am very happy with how my shirt turned out. It's comfortable, it looks good and I love the fabric.
Sewing with Burda takes a little adjustment. The instructions are not always easy to follow because they often need to save a little space, but stick with it - the results are worth it.
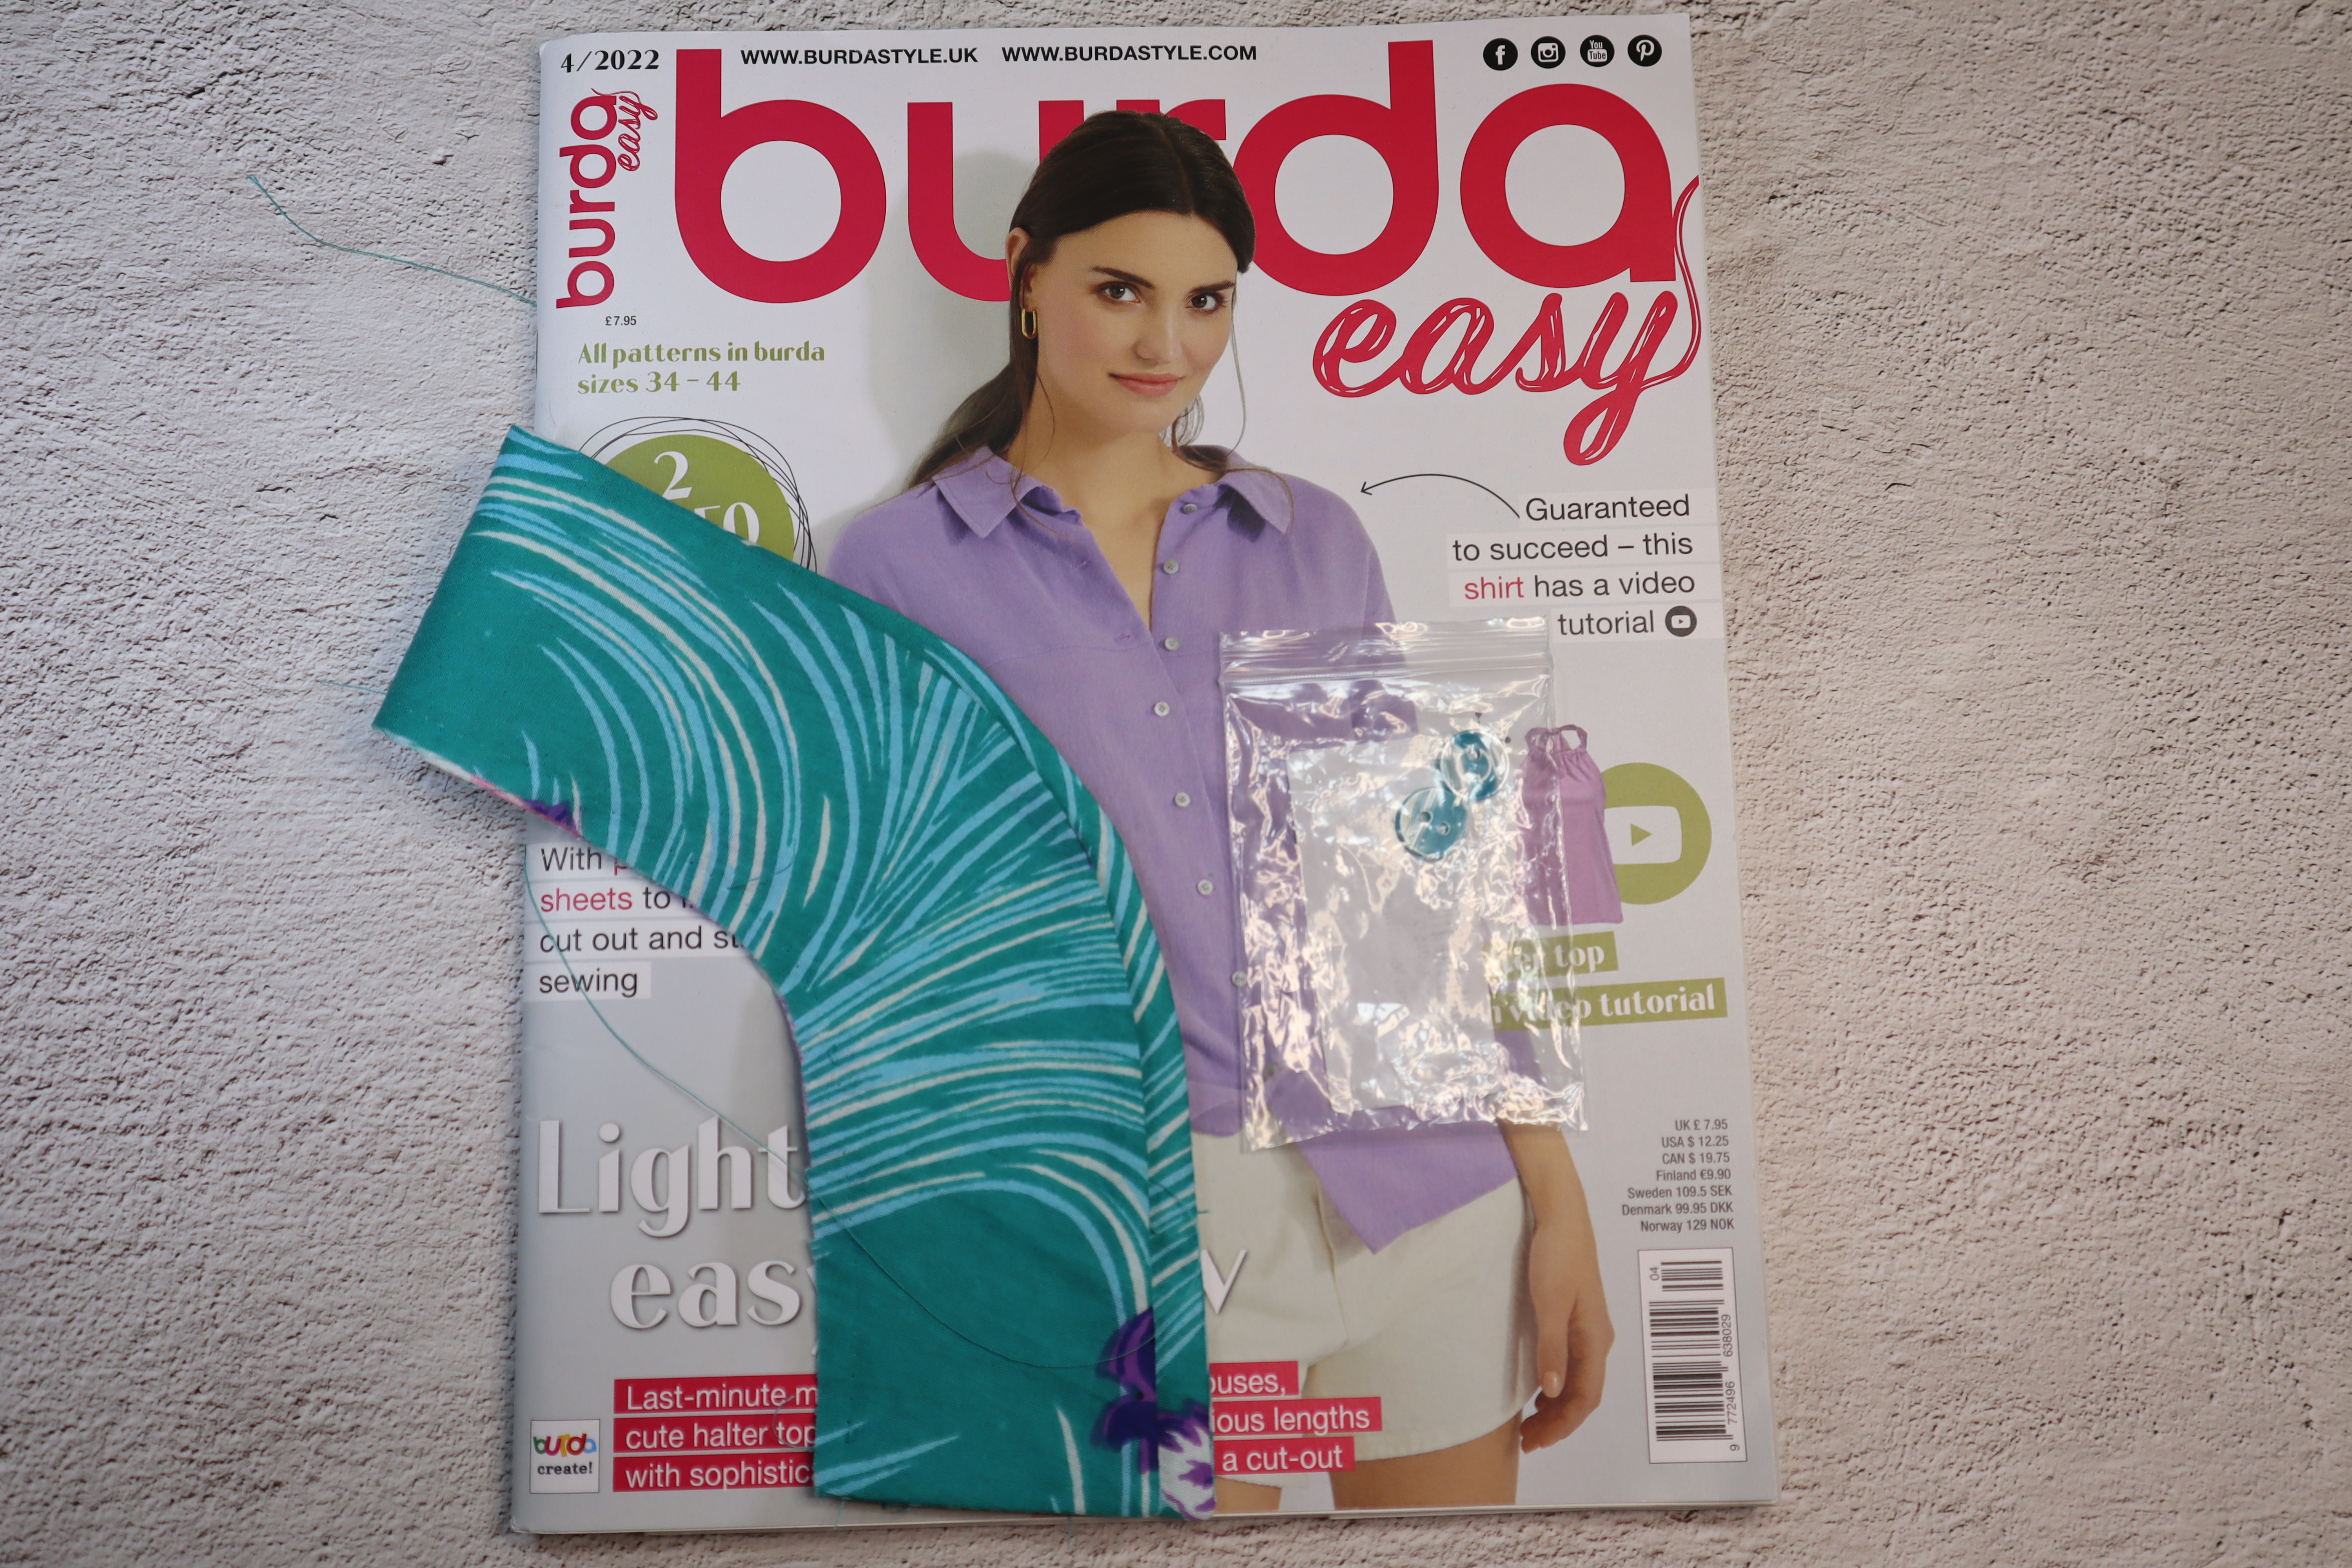
I must admit that I made a rather silly mistake and almost destroyed my shirt. I had managed to cut out a random interfacing instead of the collar. I couldn't work out why the edge of the collar was so short. Just as well I had the presence of mind not to cut or trim anything without checking the pattern. The random piece of interfacing I had sewn on is shown above on the magazine. The shape was so similar to the collar - I was convinced I'd traced the whole pattern wrong. The interfacing even lay flat when it was sewn on - it was just too short.
I love sewing collared shirts and blouses - they just have a smart look about them. This is the first collar I have sewn that is closed using bias binding. I think I should start practicing making my own bias binding - it would have given a much better finish.
As you can see, the collar does lay neatly. Some collar styles are difficult to sew so they lay flat and no amount of adjustment seems to work - unless it's absolutely perfect. This collar style is a lot more forgiving. It's a really simple way of doing a collar - once you figure out what they're getting at in the instructions and it goes together really simply.
If you like the inside of your shirt to look neat, it's worth finishing each seam with an overlocker. Just make sure you sew with the overlocker straight after sewing the seam. Once another seam is sewn across it, it won't be possible to get a neat finish. Also make sure to press after you have overlocked each seam, to make sure that the next seam to cross it will be able to lay completely flat - forget this step and you'll get lumps and bumps where the seams cross. If you like topstitching - topstitch each seam after pressing and press again after top-stitching. It's well worth the extra effort.
Burda Easy tends to include easier patterns than the main Burda Style Magazine. The instructions tend to be in much more detail and often Burda include a sewing tutorial online.
I top-stitched the seam across the front to help it lie flat. I did the same for the shoulder and back seams. It makes ironing it much easier, too.
The finished article! I think the pattern itself is very versatile and can be rather smart if made in a fabric with a subdued print. This is a pattern I intend to make again - next time I don't mind buying more expensive fabric. I used a cotton lawn, but it would work just as well in woven viscose. I think poplin or shirting would give a more structured look. The fit is very roomy, but doesn't drown you in fabric like some types of blouses.
If you are interested in buying this fabric, you can buy it here: https://ebay.us/Hji5cB (affiliate)
If you are interested in buying a back copy of this magazine, here is a preview of the patterns in the 04/2022 Burda Easy Magazine. You can buy it here: https://ebay.us/pc7AcL
(affiliate)


Comments
Post a Comment